A Full Guide to Dermaplaning at Home
Are you one of those women who enjoy experimenting and trying various cosmetic treatments at home? If you are, welcome to the club!
Home self-care activities mean complete relaxation and well-deserved alone time for every woman. Facial cleansing, manicures, pedicures, and various types of waxing are just some of the most common personal care routines.
In addition to classic beauty treatments, following the trends among beauty gurus and influencers, there has been a growing interest in one special facial treatment – dermaplaning.
Many skin experts swear by the efficiency of peach fuzz removal with this unique face shaving method. So I decided to make a detailed guide to explain how to DIY dermaplaning safely at home with tips, benefits, and recommendations for your skin type.
Table of Content
What is Dermaplaning?
Dermaplaning is a popular method of removing the surface layer of the skin to revitalize and make it look glowing. This painless procedure also works well for removing dead skin cells and hair, making the facial surface velvety smooth.
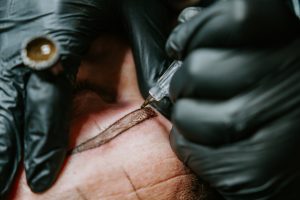
It’s worth adding that dermaplaning is a type of mechanical peeling, which means that the skin is treated without chemicals and substances that could damage it. A dermaplaning expert usually uses a thin and sharp surgical scalpel during the treatment. I know it sounds scary, but don’t worry, skin professionals use it skillfully and carefully, so there is no fear of injury.
Dermablading treatment is recommended for all skin types, except for people who have inflamed cystic acne or acne-prone skin in general. In case you have cystic acne, doctors recommend focusing on medical treatment that involves antibiotics and other meds, but avoiding manual peelings.
Apart from what I already mentioned, this procedure is also good to be used before certain invasive treatments such as chemical peels or laser treatments. It allows better penetration of active substances into the skin once the surface impurities are removed.
People sometimes mix dermaplaning and microblading. These are two different treatments. If you decide to microblade your face, your treatment will involve implanting pigment into your skin’s surface to resemble eyebrow hair.
Benefits of dermaplaning
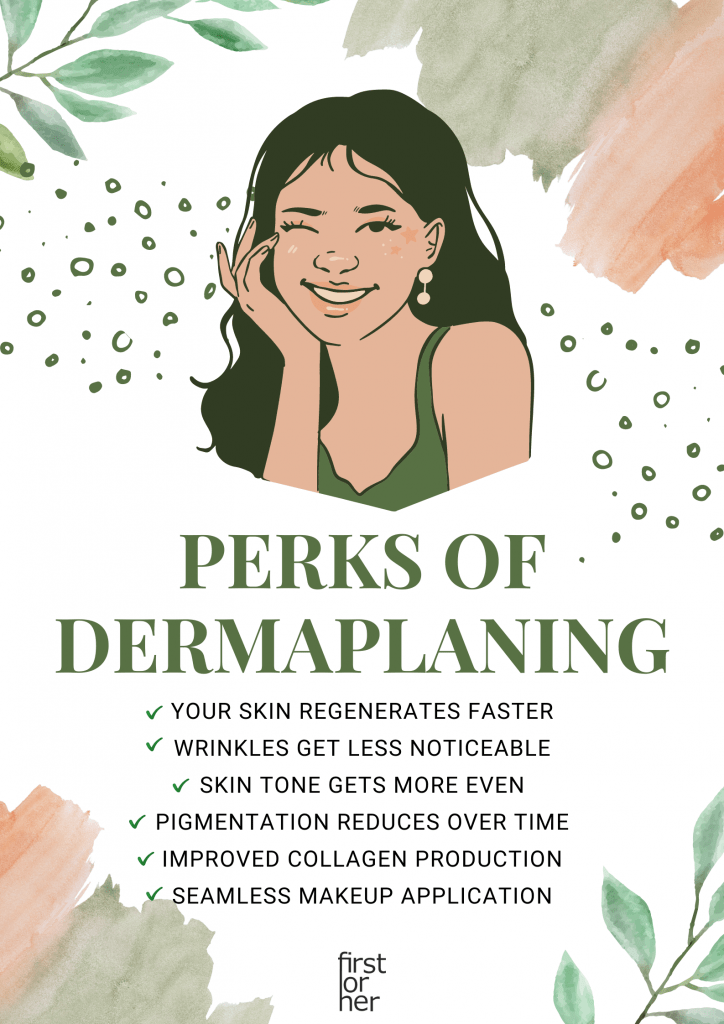
Although it has recently become popular, dermaplaning has existed for much longer: in fact, Cleopatra was the original proponent of this beauty treatment. So, many advantages of dermaplaning have been noticed from ancient times, and some of the best benefits are:
- facial hair removal
- faster skin revitalization
- less noticeable wrinkles
- even skin tone
- fewer scars (e.g. from acne)
- less visibility of pigmentation changes
- immediate results after the first treatment
- quick and simple procedure
- deeper skin product penetration
- promoting collagen production
- preventing the development of inflamed acne
- unclogging the pores
- seamless makeup application
I should say that the only drawback of this treatment is that its benefits don’t last long. Results usually remain visible for only three to four weeks. Therefore, I recommend that you do dermaplaning before some special occasions when you want to look fresh and need your makeup to stay on longer.
Is Dermaplaning Safe?
Even though dermaplaning is considered one of the safest peeling methods for all skin types, those with active acne should refrain from this treatment.
On the other hand, if you have skin problems such as fine lines, wrinkles, hyperpigmentation, or just want to remove facial hair, you are good to go. Apart from that, cccording to Sparsh Skin Clinic, dermaplaning is also safe for pregnant women.
At first glance, this procedure seems very simple. After all, we all know how to shave the other body parts at home, so why not do it to your face as well?
Things are not that simple. Without knowing the proper technique, such as how to hold the blade, you can easily cut the skin and possibly cause an infection. In addition, if you cannot accurately determine the condition of your skin, the treatment might result in the spread of bacteria. It usually happens to people with active breakouts and severe sunburns.
So if you don’t know your skin well enough, it’s always better to consult a doctor before scheduling a dermaplaning treatment.
Another important note: don’t skimp on the blade if you want to do dermaplaning at home. There are special surgical-like scalpels designed for this purpose. Otherwise, a classic blade can injure you.
How to Do Dermaplaning at Home?
If you have tried a professional dermaplaning treatment in a cosmetic salon, you are probably already aware of how easy, painless, and soothing this process is. It is good for your skin and your face will shine like never before.
And you know what’s even better?
This is something you can easily do yourself at home. You just need to know a few things you should and shouldn’t do when it comes to holding your dermaplaning tool.
Keep scrolling for the guide I have prepared to learn how to do dermaplaning in the comfort of your own house.
Step #1: Prepping tools for the procedure
There isn’t much to do to prep for this treatment. For the dermaplaning process at home, you will need the following:
- dermaplaning blade
- rubbing alcohol
- face towel
- face cleanser
- skincare products (toner, serum and SPF)
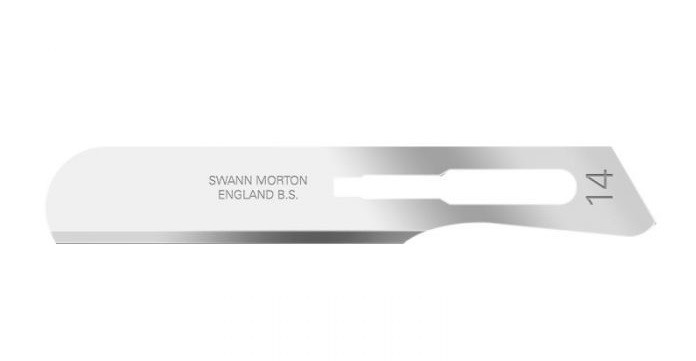
The most popular blades for dermaplaning are the No.10 and No.14 surgical scalpel blades.
Stainless steel (No.10) blades are a little duller but stay sharp for a longer time. Here’s an option for you to consider:
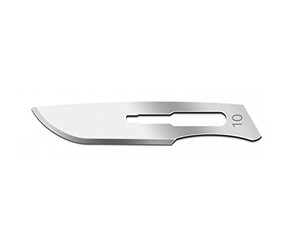
On the other hand, the carbon steel (No.14) is sharper but dulls faster – it’s just a matter of personal preference. Here’s a good product I’d recommend:
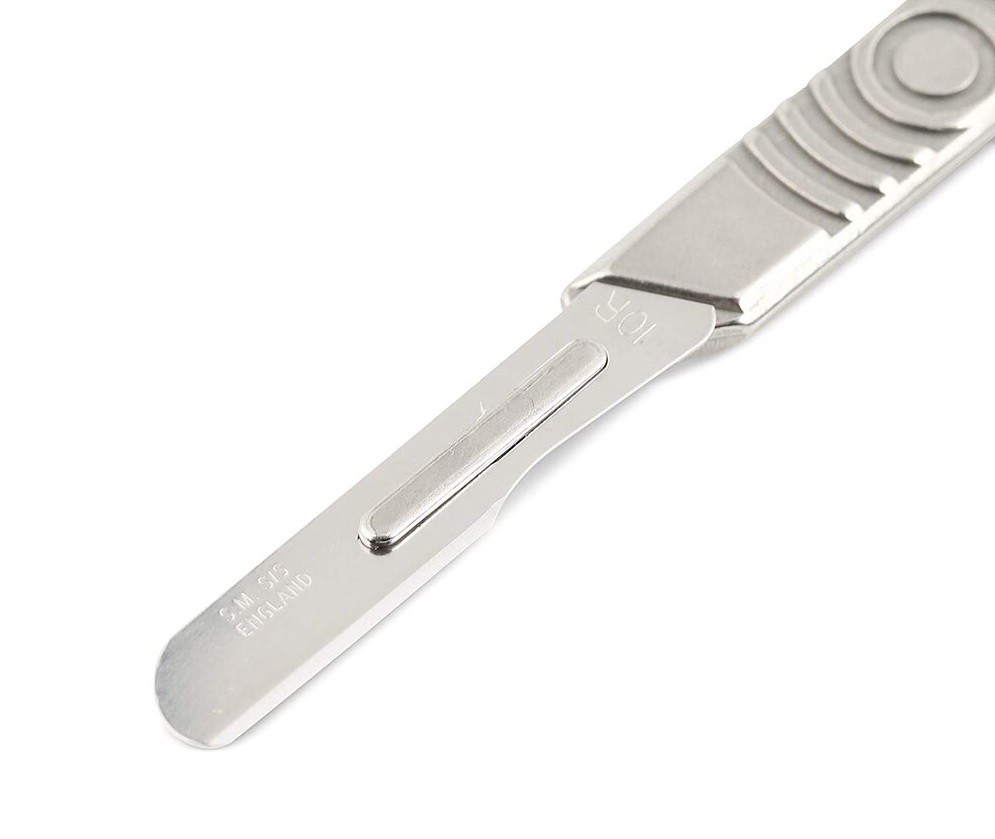
Another very popular model is the #10R, also known as “butter blade”. It is shorter and more rounded compared to #14, which makes it ideal for entering smaller, more restricted face areas. Its rounded tip prevents accidental scratching, thus ensuring a more efficient and consistent finish. It is available only in stainless steel.
Keep in mind that you should always use a clean blade. You can use the same razor two to three times but clean it with alcohol each time after it touches your face. Isopropyl alcohol (IPA) is most effective for this purpose.
Step #2: Cleanse your face
Your skin should be completely clean and dry before you start dermaplaning. Make sure to remove all makeup and then wash the skin twice with natural and organic cleansers.
Use this simple guide to clean your face properly:
- Opt for a gentle, alcohol-free cleanser.
- Dampen your face with lukewarm water.
- Put a cleanser with your fingertips.
- Rinse with lukewarm water.
- Dry your face with a soft towel.
It would help to massage the cleanser into the face in a circular motion to remove any remaining makeup and dirt. This procedure should be done twice to ensure that your face is clear.
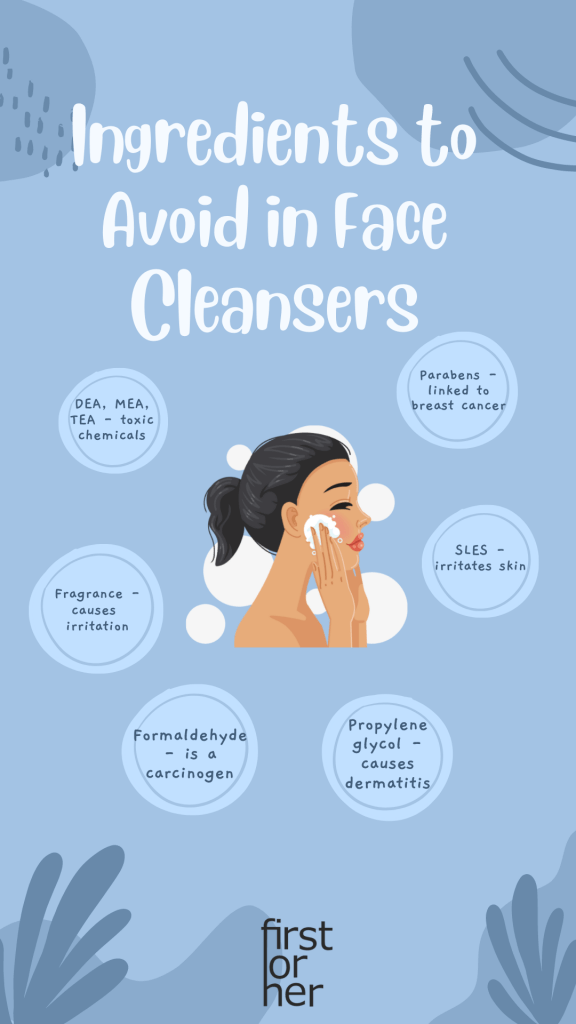
My recommendation is to use a foaming cleanser with no SLS because it is ideal for every skin type. These products are perfect for removing oils, layers of makeup, and even sunscreens that are difficult to wash off. Here are some other ingredients you should avoid when choosing a face cleanser:
In addition, another good practice to prepare your face for dermaplaning is to add an antibacterial skincare product. It can help kill bacteria that can cause infection, which is especially dangerous if you have open wounds on your face.
Note: you should avoid using retinol products before treatment, as this can cause skin peeling and potential irritation. This rule especially applies to those with sensitive skin.
Another little tip: Stay hydrated and drink plenty of water before and after a dermaplaning session. It can prevent swelling or discomfort after the treatment.
Step #3: Position the blade correctly
Before you decide to do dermablading at home, consult with your dermatologist or doctor if you have any allergies or skin problems. If your skin is healthy and well-groomed, you are ready to start with shaving.
The way you hold the blade makes all the difference in the safety of dermaplaning and the treatment results.
Do you know how to hold a dermablade properly?
You will realize that you are not doing the treatment correctly if:
- The blade tip touches the skin instead of the blade length.
- Your hand is “in the way” and you can’t approach all the face areas.
- You do not hold the razor at a 45-degree angle (any other angle may result in unshaved spots on your face).
- If you feel like you don’t have complete control over the tool.
Here’s a short graph I prepared for you explaining how to hold a dermaplaning blade properly:
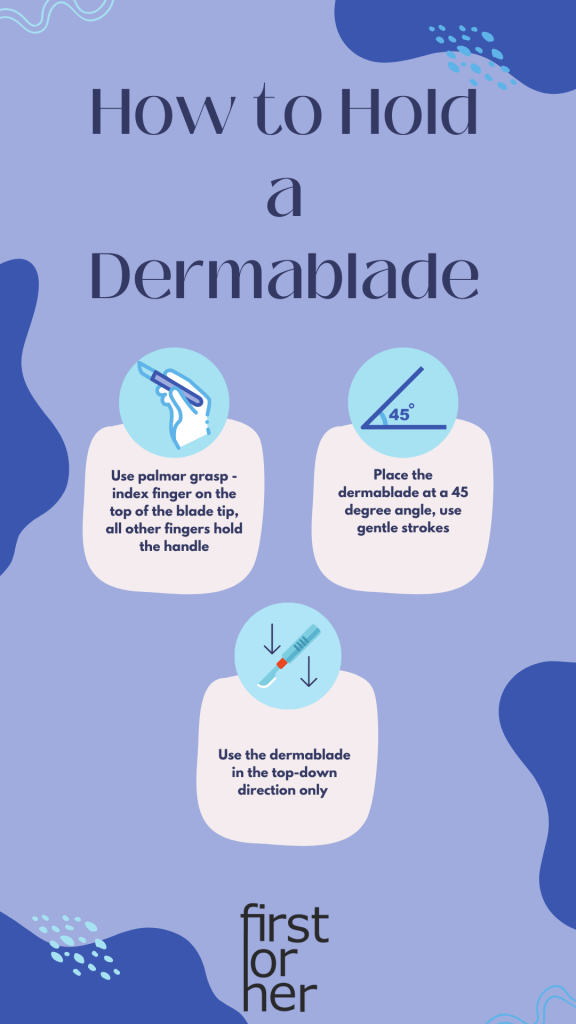
Basically, you should hold the blade handle from above if you want to do the treatment the right way. Holding objects like this is known as the palmar grasp, and it is the only correct way to do dermaplaning.
Pinch the handle above the blade attachment angle with your index and thumb finger. The rest of the fingers should be wrapped around the handle while the little finger prevents wiggling.
Here are several reasons why you should hold the blade like this:
- It ensures that you have complete control over your face and it is the best way to dermaplane.
- You can see where you are going and what you are doing.
- It allows you to press on the correct part of the blade, which results in an even peeling.
- It is ergonomically correct and will not cause injuries.
So, if I weren’t clear enough, let me try to explain it more simply – don’t hold your blade like a pencil. In this way, it is almost impossible to control the tool and the treatment in general.
Step #4: Carefully remove the peach fuzz off your skin
Here, the best option is to use short, feathery strokes over your whole face when dermaplaning.
Start shaving downward from ear to jawline following the natural direction of your hair growth. Dermaplaning in an upward direction could cause breakouts, cuts, or ingrown hairs.
Also, don’t forget to pull your skin tight to get the closest shave. Pulling your skin like this will allow you to access the whole surface of your skin.
Let me remind you: always keep the razor at a 45-degree angle all the time during the dermaplaning process.
What about hard-to-reach areas on your face?
The area under the ears and, on the chin and nose could be demanding due to the bones, so pay close attention when dermaplaning around these face zones. Press the razor into the skin and pass as slowly as possible to remove the peach fuzz and impurities.
If you have problems removing hair from the cheeks area completely, you can puff them out to create a smooth surface for easier dermaplaning. This way, you will also reduce the possibility of injuries in the thin skin zones, e.g., around the eyes or upper lip.
Don’t be afraid to shave around your eyes, but of course, do it with greater caution. The skin around the eye area is softer and more sensitive than the rest of the face, so dermaplane it with extremely gentle movements.
Step #5: Clean the dermablade and repeat
Okay, the first part of treatment is done, and we are moving to the second part. The last two face zones that are left are the forehead and neck.
Before you continue, keep in mind that it is necessary to clean your dermablade. Actually, as I mentioned before, you should clean the razor after each stroke you make. You can reuse the same tool as many times as you want. Just make sure the blade is still sharp and always sterilize it with alcohol after every use.
Shaving the forehead is the most simple part of the treatment because there are usually no deep wrinkles or transitions; everything is mostly even. At the end, dermaplane the neck down from the jawline. This part won’t cause you complications as well. Go over each face area just once.
One important note: Don’t use a dermaplane blade on the eyelids or lips. Avoid the zones where you don’t want to lose hair, like hairline or eyebrows. You should also avoid active acne because dermaplaning can rupture the breakout, make irritations, and lead to infections, hyperpigmentation or acne scarring.
Step #6: Don’t forget about the aftercare
Your face is now shaved and soft as a flower, but your work isn’t done yet. The final step of your dermaplaning routine is moisturizing.
Now you have to restore the skin barrier’s oils that you removed during cleansing and revitalize your complexion. After dermaplaning, your skin will absorb even more of the skincare products, making the advantages even better.
Applying a quality toner will calm your skin down and reduce the risk of irritation. I recommend some oil-free and pH-balanced products that will revitalize your skin to the maximum. It would help if you also put SPF as a post-care step.
You should follow this skincare routine for about two weeks after dermaplaning. Don’t go for harsh cleaning products; instead use gentle cleansers, moisturizers, and skin serums with hyaluronic acid.
What to do after dermaplaning?
- Avoid direct sun and extreme heat for three days.
- Don’t use face scrubs and chlorine for one week.
- Apply gentle moisturizers and serums.
- Use sunscreen with high protection – at least SPF 30.
If your skin feels sensitive after dermaplaning, this is normal. Itching could also be the side-effect of this treatment, so in that case, you can put a pack of ice to stop irritation. Make sure you disinfect the ice pack before putting it on your face because you don’t want to cause dirt build-up and infection on clean skin.
Over to You
With a bit of time and practice, you can become a true dermaplaning expert and get soft, fresh skin at home. Stick to the following home steps, and you will certainly not go wrong:
- First, cleanse and dry the skin.
- Then, take your dermablade and place it against the jawline.
- Hold the skin tight with your opposite hand.
- Make gentle and short strokes.
- Keep doing it until you have worked the whole jawline and cheeks area on both sides.
- Do the same on the chin, nose, forehead, and neck area.
- Do not repeat strokes on already shaved zones.
- Clean the blade after each stroke.
- After you finish treatment, apply moisturizer, toner, and serum.
And that’s it! Thanks to this fantastic treatment, you will get glowing, clean, and soft skin. You can repeat the process every three to four weeks. I was impressed by the results, and I am convinced that it will enchant you too!
For more fashion advice and self-care ideas, visit my blog and get all the information you want and need!
Dermaplaning FAQs
Still got some questions about the safety of the dermaplaning procedure? Here are all the answers!
Is dermaplaning just shaving?
Dermaplaning is not just traditional shaving. Beside pulling a blade on the face, the primary goal of the treatment is to remove dead skin cells and peach fuzz to get healthy and glowing skin.
Can dermaplaning damage your face?
If you perform the treatment correctly, skin damage will not occur. Significant injuries and skin problems can happen if you do this procedure on acne-prone skin.
After you dermaplane your face, you might feel burning, itching, and irritation. These are normal side-effects and will go away with proper care.
Does dermaplaning hurt?
Since dermaplaning involves light feathery strokes, this treatment will not hurt. Indeed, many people will agree that dermaplaning is more comfortable than classic waxing.
Injury can only occur if you do not correctly handle the tool or if you go over the previously treated area too many times. That’s why it’s important to know the right dermablade technique.
How often should I do dermaplaning?
Dermaplaning frequency should vary from three to four weeks. Dermablading is a deep exfoliator that removes facial hare and dead skin, and accumulations of new dead skin will form in two, three, or four weeks, depending on the skin type.
Give the skin time to reappear between treatments.
Will hair grow back thicker after dermaplaning?
This question is actually the biggest concern of many women who doubt whether to try this treatment or not.
Don’t worry and relax, dermaplaning doesn’t cause your facial hair to grow back darker or thicker. Treatments that act on the skin’s surface cannot affect the root below. Therefore, it is scientifically impossible for dermaplaning to affect faster hair growth or density. Vellus hair will grow back the same it was before shaving treatment.
Which blade is the best for dermaplaning?
The best dermaplaning razors are the No. 10, 10R, and 14 surgical scalpel blades. Stainless steel blades are blunter but stay sharper longer. Carbon steel blades are sharper but dull more quickly.
Avoid classic razors for depilation of legs and other parts of the body. They are not suitable for the face.
Similar in blog

Is Dry Shampoo Allowed in an Airplane Carry-On or Suitcase?
I have a problem. Whenever I’m packing my bags for a journey, I always doubt whether I can include a certain item in my luggage and…

A Guide to Choosing the Right Eyelash Extension Style for Your Eye Shape
As someone obsessed with the perfect eyelashes, I know firsthand how choosing the right lash extension styles can make all the difference in your appearance. During…
Why I’ve Given Up on Eyelash Extensions and You Should Too
Once upon a time, I, like many women, got caught up in the eyelash extension trend. I loved how they made my eyes look and that…

Beauty Shouldn’t Require Sacrifice – 8 Signs It’s Time to Remove Eyelash Extensions
Imagine this - you are going to the beauty parlor, super thrilled to get your falsies done for the first time. The process takes a while,…

Is There a Difference Between Nail Lacquer and Nail Polish?
So, you've come to your nearest beauty supply store to buy some new colors for your nails. You stop in front of the stand and look…

10 Hair Gel Product Recommendations for Sensitive Skin
Hairstyle is a big part of any woman's "getting ready" routine. If I speak for myself, I mentally pick my hairstyle for any occasion before even…

7 Haircuts that Look Perfect on the Pear-Shaped Face Type
Finding the right hairstyle to fit your face shape can take a while, but it’s definitely worth it. Since each person has a different face shape,…
6 Alternatives to Eyebrow Microblading
They say “beauty requires sacrifice”, which perfectly describes eyebrow microblading. This is a painful and rather expensive beauty procedure giving you beautiful eyebrows for the long…