3 Easy Ways to Hang Shelves Without Nails
How do you normally attach shelves to the wall?
I guess you would take some nails, hammer them into the drywall, and hang the shelf. Using a drill with screws is also an option.
But what if you rent an apartment or live in a dorm? Is it possible to hang shelves without nails?
It is, and I’ve got three options in my article. Let’s discuss them one by one.
Table of Content
Option #1: Adhesive Glue
Adhesive glue should be your first option to hang shelves in an apartment without drilling. This solution can hold them efficiently and leave no visible marks on the walls.
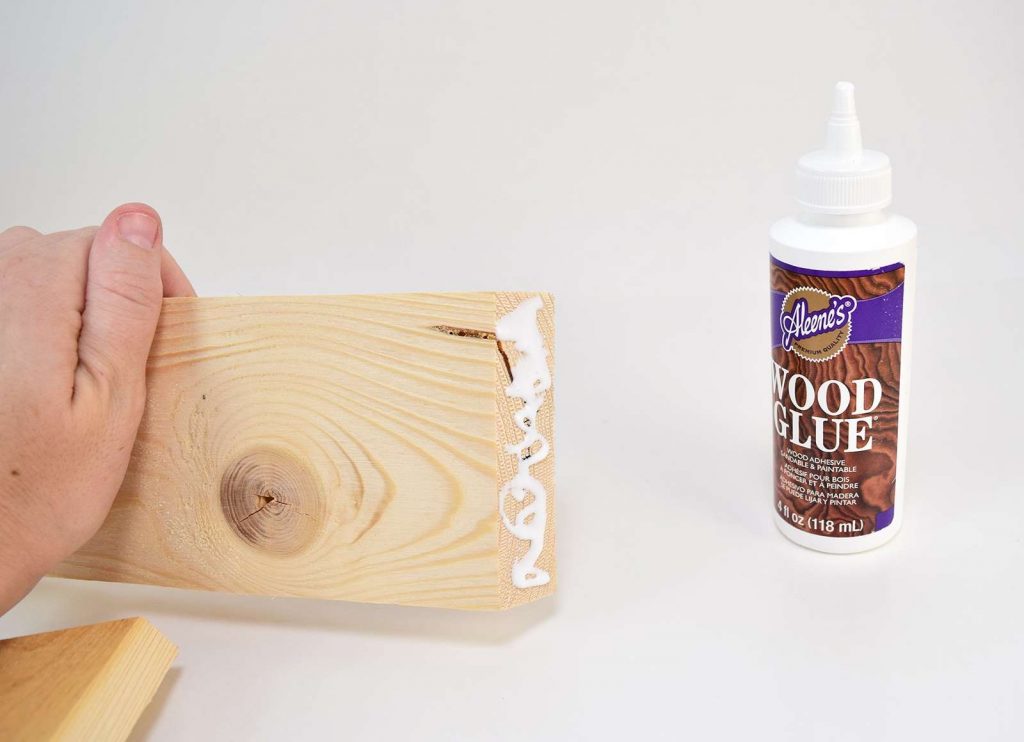
Whether your shelves are made of plastic or wood, adhesive glue works perfectly and delivers stunning results.
You can even attach the shelves with a full back or a large surface to your wall, and if they are made of wood, I suggest using heavy-duty or wood glue for this home project.
Pros and cons of adhesive glue
Although mounting brackets and electrical hand tools are the most popular way to put shelves on walls, glue also has some advantages.
The perk of installing a shelf with glue is that you don’t have to search for mounting brackets and appropriate nails for the type of walls you have in your home.
Plus, adhesive glue bonds to almost all materials – marble, concrete, plaster, brick, aluminum, ceramic, iron, glass, chipboard, wood, cork, painted sheet metal, plywood, PVC, plexiglass, and more.
The only downside is that it’s extremely difficult to detach the shelves after you fix them with glue. So, only go with this option if you want shelves affixed there for a long time.
But of course, it’s not impossible to remove them. Using an electric drill and utility knife would help you in this mission. Even if some layers of paint come off the wall, the damage will be minimal, and you’ll be able to easily camouflage and fix it.
How to choose a good adhesive glue?
Now that we know that adhesive glue can help you hang shelves without nails, it’s time to invest in one. But what factors should you consider before buying this product? Here are the essential criteria:
- UV-stable
- Environmentally friendly
- Should not cause corrosion
- Resistant to weathering
- Anti-aging
- Should not leave stains
- Resistant to vibrations
I understand that you might still feel confused about which adhesive glue to buy from so many options on the market. Therefore, I have picked one product that would be a great solution to your problem.
Gorilla is a super strong glue that guarantees the best results for both indoor and outdoor projects.
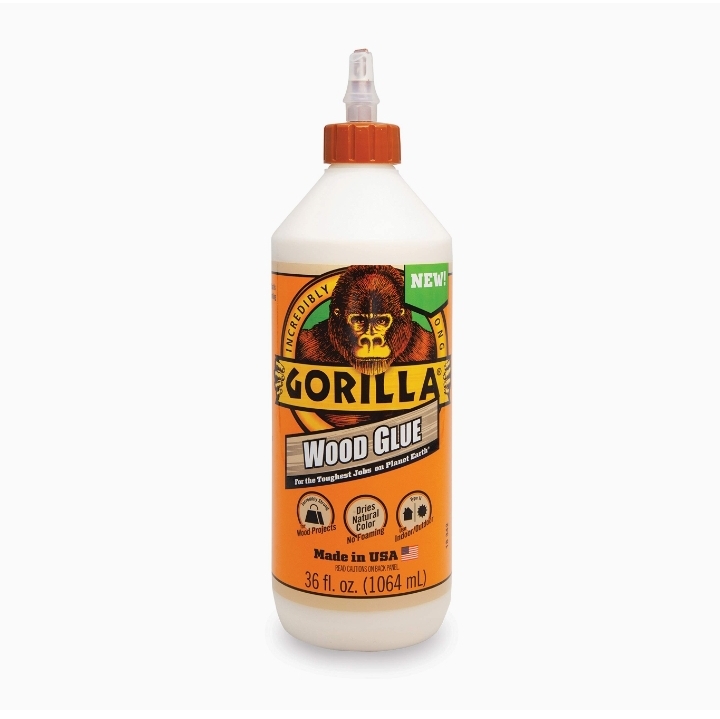
To guarantee that this glue is really excellent, let’s also read the customer review below.
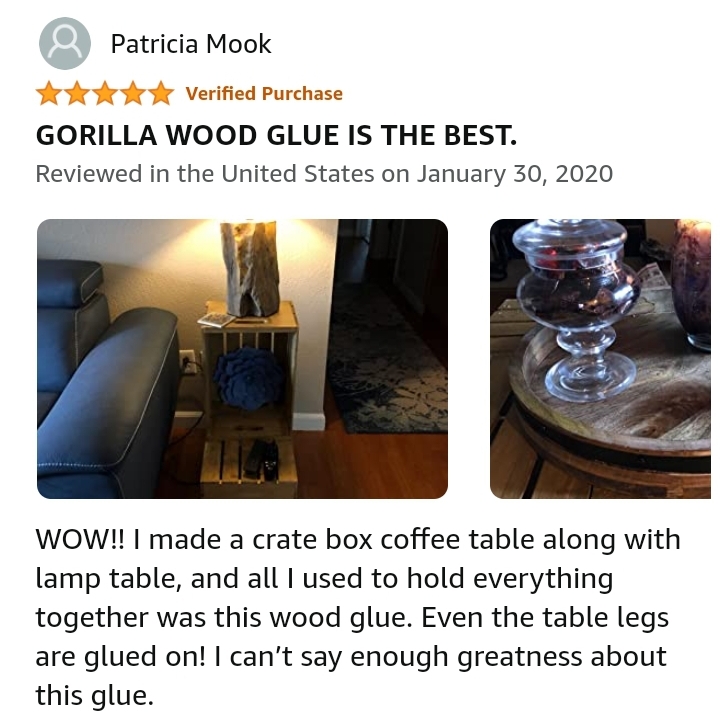
This customer used Gorilla Wood Glue to make new furniture and, as we can see, she is very satisfied with this product. The glue is strong and easily connects two different substrates.
How to hang shelves without nails using adhesive glue?
Okay, we have the glue we will use to attach shelves to our apartment walls. Now, let’s learn the know-how of the process. Ahead, I have step-by-step instructions.
Step #1: Clean the surface
Before doing anything else, clean the wall area where you’ll install the shelf with plain, warm water. The glue will not adhere well to a dirty and dusty surface. Also, make sure to dry it as the humidity could create additional problems.
Step #2: Apply adhesive glue
Now, apply the adhesive glue to the back of the shelf or the side that will touch the wall. Apply the glue in lines or dots, 7 to 10 cm apart (depending on the size of the shelf).
Step #2: Place the shelf
Finally, press the shelf against the wall and wait for at least 30 seconds. No extra fixation is needed as the glue layer becomes stable and cured within 24 hours.
Option #2: Adhesive Mounting Strips
Adhesive mounting strips are the second-best method to hang up shelves without damaging the wall. This product refers to a strong, double-sided tape used to hang different objects.
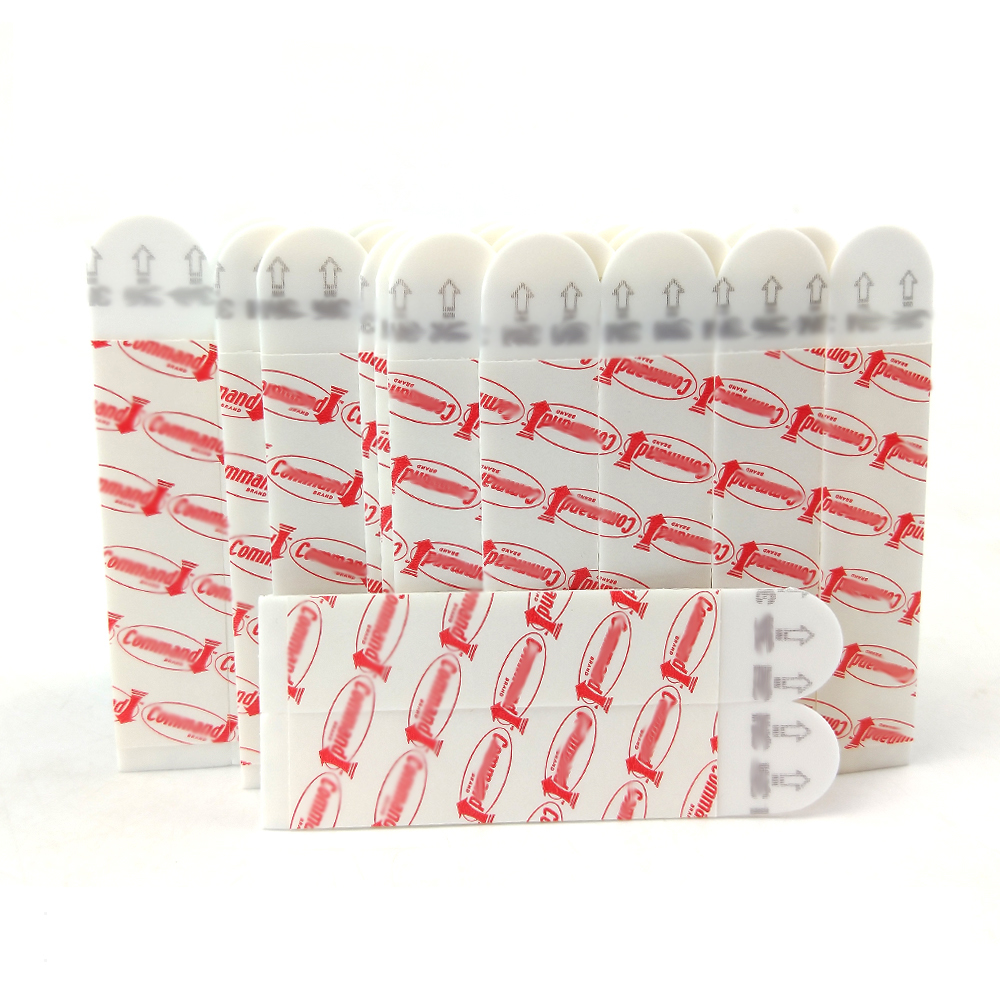
There are various categories and strengths of adhesive mounting strips. But each one works on the same principle. One side of the tape is peeled off and stuck to the object, while the other side is actually the adhesive part.
Let’s get into the nitty-gritty of mounting strips.
Advantages and disadvantages of adhesive mounting strips
To hang shelves without nails, you can simply use the mounting strips. But I am sure you’re wondering what the pros and cons of this method are, so let me answer.
As a general rule of thumb, you can hang only lightweight objects made of a hollow material with adhesive mounting strips. But in case your shelves are heavy and made of solid material (oak or steel), you should consider using screws or nails.
On the other hand, if you want to hang shelves made of balsa wood or other hollow material, using adhesive mounting strips is a practical solution.
For safety purposes, don’t try to use mounting strips if your shelves exceed 4 kg. You can find lightweight floating shelves or hollow wooden planks at furniture or hardware stores.
How to choose solid adhesive mounting strips?
If you have invested in lightweight shelves, it’s time to know the criteria for high-quality adhesive mounting strips. Knowing this information will allow you to easily hang shelves without nails.
Before buying adhesive mounting strips, check out what their weight capacity is. This will help you ensure that your shelf can be fully supported.
Here are two useful tips:
- Buy strips with a sticky material on one side and a Velcro-like, rough gripping material on the other.
- If your shelves are extremely hollow and small, a moldable adhesive glue can work instead of strips.
Now, let’s see my pick for mounting strips with a customer review.
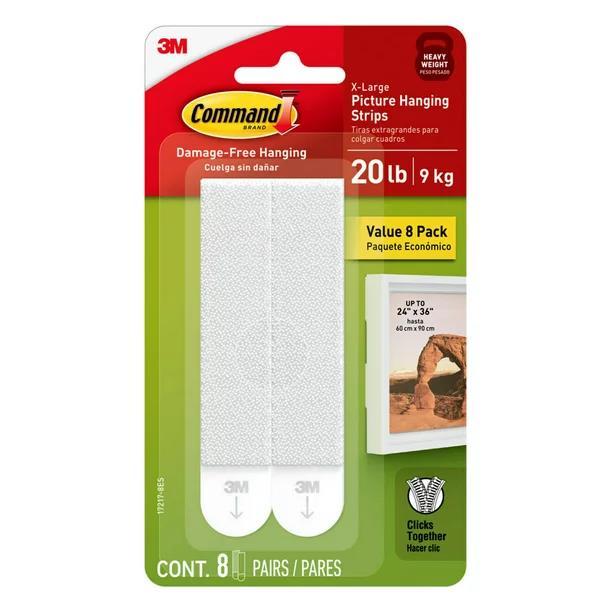
This Command pack contains eight white, versatile strips you can easily remove, and they require no additional tools to attach objects. Let’s take a look at one positive feedback on this product:
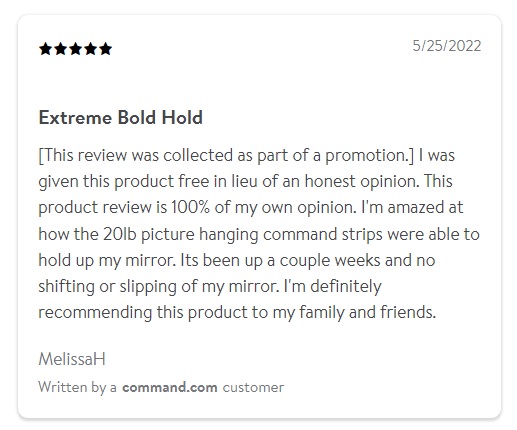
As we can see, this customer is very satisfied with the product, as these straps firmly hold her picture weighing as much as 9kg (20lbs), and that’s really WOW! So, this glue would probably be a good option for some weight-bearing shelves, too.
Therefore, if you live in a loft apartment that lacks space, these strips will help you a lot. In addition to creating extra space for storing things, you can use them to decorate the walls with various pictures and details.
How to hang shelves using adhesive mounting strips?
We’re finally ready to mount shelves using adhesive mounting strips. Let’s see what the process includes.
Step #1: Clean the surface
First, clean the shelf. Wet a cleaning cloth with isopropyl alcohol and slowly rub the mounting side of the shelf and the wall. Cleaning will eliminate oil, grease, and wax from the surfaces and make the strips easier to position.
Step #2: Wait until it dries
Give 5 minutes for the surfaces to dry properly before attaching the adhesive mounting strips.
Step #3: Attach the adhesive strips
Now, attach the adhesive strips to the shelf by pressing them down for 30 seconds. If they aren’t attached, try pressing the Velcro-like fastening sides of the two strips together. Discard the protective liner from one strip, and press the newly exposed adhesive side to the shelf’s mounting side. Hold down the connected strips for 30 seconds.
Step #4: Space your strips
Continue spacing your strips evenly to maximize the hanging strength of the shelf. If you have wooden shelves, employ staples to attach the strips.
Step #5: Place the shelf
After attaching the adhesive mounting strips, discard the rest of the strip liners and position the shelf along the wall. Now, press the shelf against the wall for 30 seconds again to affix it in place permanently. If possible, attach the adhesive mounting strips to two adjacent sides of the shelf and hang it in the corner – it will offer additional support.
Step #6: Press down adhesive mounting strips
With careful and slow movements, pull on the edges of the shelf to peel it away from the wall. Afterward, push down on each separate adhesive mounting strip for 30 seconds to ensure that they are adhering. If any of the strips come off, attach a new adhesive mounting strip to the shelf. Repeat the process.
Step #7: Attach the shelf again
One hour later, the adhesive mounting strips will set and solidify. Now, reattach the shelf by linking the pairs of strips together. Then, as you slowly let go of it, observe to ensure it doesn’t fall down.
Option #3: Control Straps
Control straps are our final substitute for screws and nails in this guide. You can successfully hang shelves without nails using the control straps. They come in different sizes and lengths, so it is important to choose the right one.
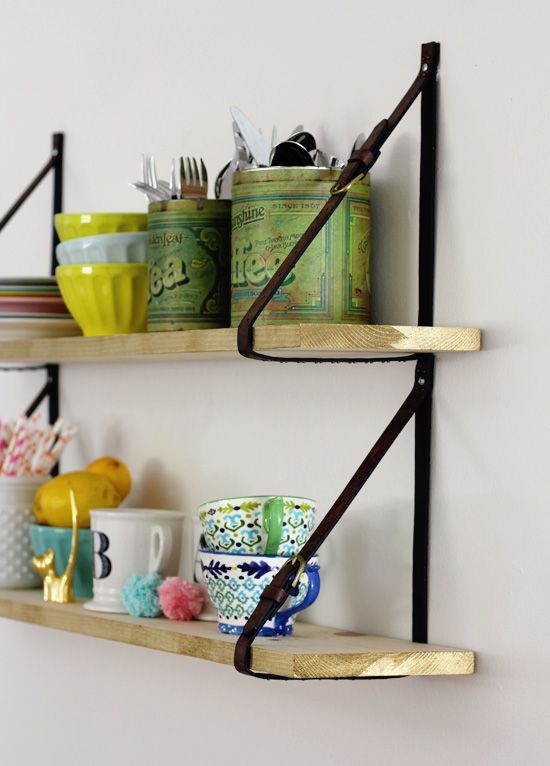
Ahead, I will discuss everything needed to know about this strategy. If the above-mentioned methods did not work out for you, this one definitely will.
Perks and drawbacks of control straps
Control straps are versatile and available in different materials. However, their weight capacity is not too high and can only support lightweight objects. Some people have a misconception that by adding more control straps, you can hang a heavier shelf, but this is not the case.
Big control straps can support an object weighing 16 kg and measuring 60 to 90 cm in width. As for smaller straps, they can only support a weight of 2 kg.
Another drawback of this method is that only smooth surfaces are suitable for control straps. It is not practical to stick them to textured wallpaper, brick walls, wood, or concrete.
How to choose proper control straps?
To hang shelves without nails, it’s important to buy good quality control straps. There is only one criterion – know your shelf’s weight and purchase the straps that can support it accordingly. Control straps should never be smaller or bigger than your shelf.
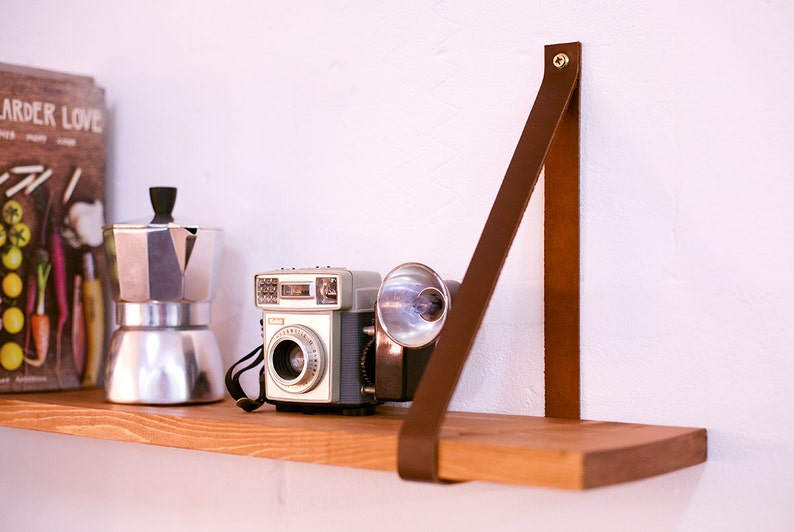
If you’re still confused about what option to choose, I recommend the following product. This seller on Etsy has introduced beautiful straps made of leather. It looks really classy and stylish, check it out:
Let’s now take a look at one positive review:
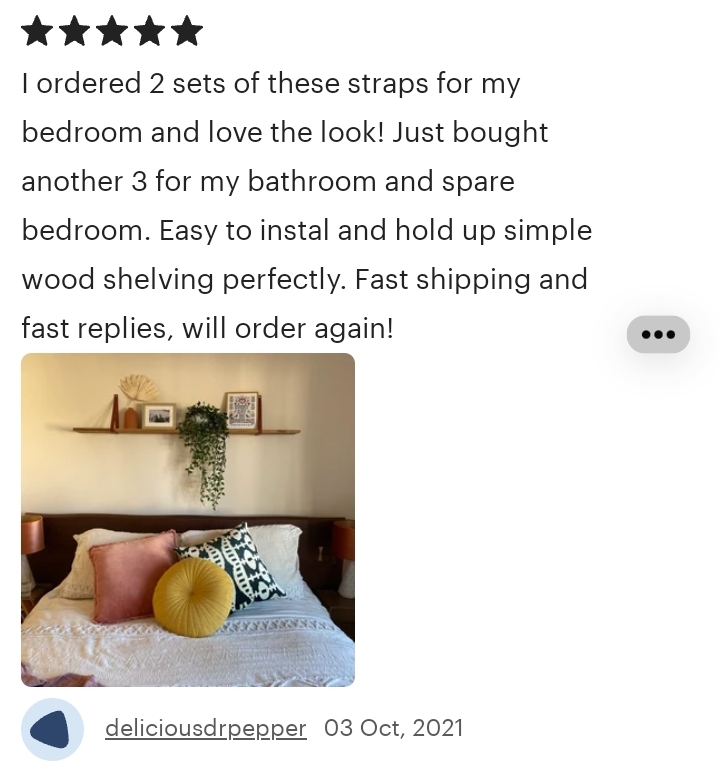
As we can see, this customer is pleased with the purchase. The shelves are mounted on the wall above the bed and look fantastic, but I’m not a fan of this idea. I find it a bit dangerous, but I have to admit that it looks great!
I think that everyone living in a small apartment or tiny house should stock up on this tool because it allows you to create a lot of storage space in a simple and easy way.
A guide to mounting shelves using control straps
What is the process of using control straps to affix a shelf without putting holes in the wall? First, ensure that your walls are not made of wood and brick. Plus, there should be no wallpaper.
Step #1: Clean the wall
Clean your wall by using isopropyl alcohol. The better you do it, the more the control straps will adhere to the wall.
Step #2: Cut the straps
For installation, cut the straps of the same length. If possible, lay down the shelves on the floor against the wall to see how the control straps will look prior to cutting. Then, you can utilize the first strap as a template for the other control straps.
Step #3: Fold the control straps and finish the installation
Now fold the control straps in half and install them where the shelf needs to go. Slide them through the shelves and adjust them. Make sure they’re in line.
Conclusion
And that’s it! We covered all the best ways to hang shelves without nails. Before ending this article, let’s summarize the important tips we discussed:
- Adhesive mounting strips, control straps, and adhesive glue are the three ways to hang shelves without nails.
- Get a glue resistant to corrosion, vibrations, stains, and weathering. It shouldn’t leave stains either.
- When using mounting strips, make sure that the hanging objects are not too heavy.
- Control straps must be properly cut and sized to hold the shelves firmly on the wall.
Does your home need more ideas and tips? Check out many home improvement guides on my blog and enjoy your DIY projects!


